Learn about Spain with some kid-friendly activities
If you enjoyed the Spain Country Quest, but you still want to learn more, how about some of these Spain themed activities?
They’re a fun way to learn a little bit more about Spain. There are some craft activities, recipes and a physical challenge.
REMEMBER TO SEND PHOTOS TO QUESTA AND ZEKE IF YOU TRY ONE!
You can send photos to us on Instagram, Facebook or via email.

Make a Ratoncito Perez door for your house
Our Spain Country Quest features an appearance from a Spanish legend - Ratoncito Perez - the little mouse who visits children’s rooms when they’ve lost a tooth.
It’s traditional in some Spanish families to make or buy a tiny door for Ratoncito Perez to visit through. His official door is in Calle del Arenal in Madrid, right next to the metro, but he travels all across the city. It’s often possible to spot small doors along the skirting board in offices and homes around the city.
Why not try to make your own Ratoncito Perez door? We made one out of lollipop sticks and other bits and pieces. See our tutorial below (or watch our TikTok video)…
Equipment/materials needed:
Lollipop sticks
kid-friendly glue
paint & brushes
scissors
black pen
Instructions:

Line up lollipop sticks in a row (you’ll probably have to sort through them to find ones that fit well together).
Trim 2 lollipop sticks to the width of your door, then glue down.
Reinforce the door with a diagonal lollipop stick (full length) across the back.
Paint and decorate the door. We put up a simple sign saying “Sr. Perez” but we’ve seen doorknobs, knockers, wreaths, even flowers!
Pop it up against the skirting board (some people use ladders if you have high skirting boards!)
Check out some other Ratoncito Perez doors for inspiration!

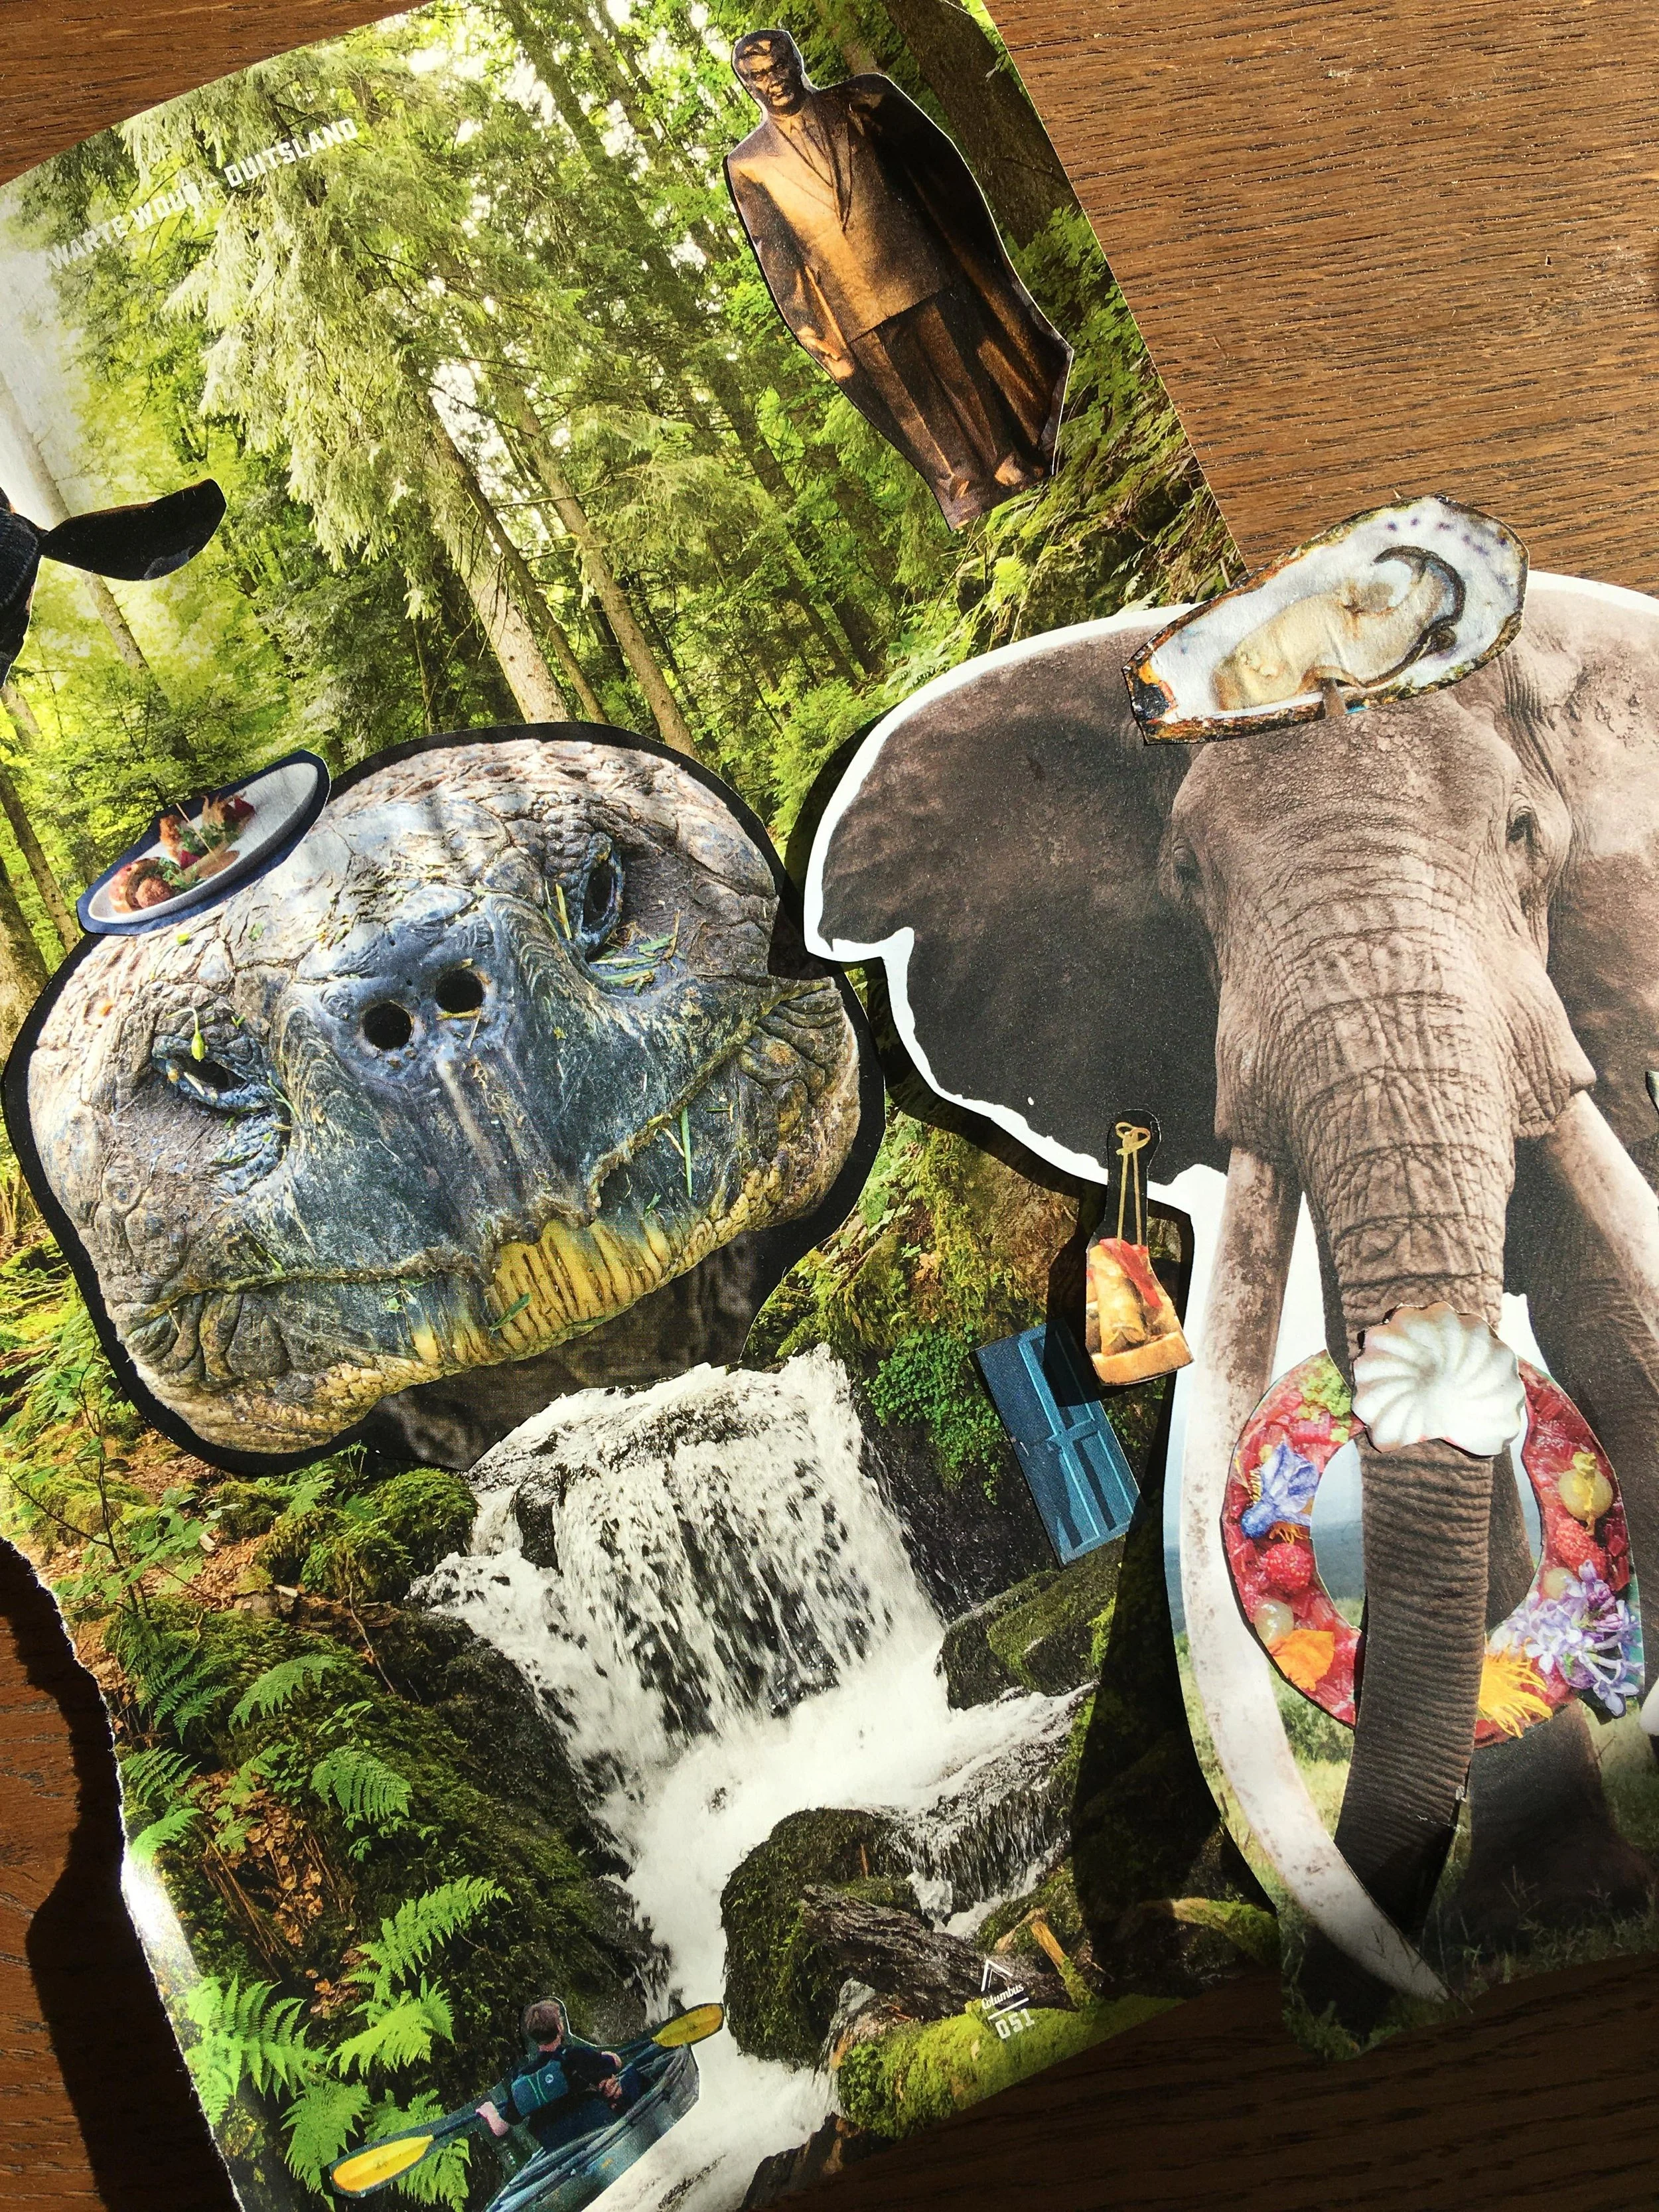
Craft a Surrealist collage
In our Spain Country Quest we meet Remedios Varo, one of the Spanish Surrealist painters. She describes surrealism as being like a dream rather than real life. Some things are things we recognize, but usually in strange places, mixed up with other things that don’t fit together. In fact, this video from Tate Kids explains it perfectly.
One great way to explore this through art is through the use of collage. Kids can cut out all sorts of pictures and create their own, new, Surrealist art with paper and glue.
Tips for fun Surrealist collage
Take some inspiration from others
Surrealist artists used collage a lot and have some great examples. Take a look at some Surrealist collage (we’ve made a Pinterest board here) for some inspiration.
Encourage kids to put together pictures that don’t fit together
Instead of putting a tiger next to an elephant, try putting the tiger next to a car or a can of Coke. This can become a great exercise in categorising at the same time!
Fill as much space as possible!
Collages look great when the paper is as filled as possible! This is a great opportunity to remind kids with a perfectionist streak that the goal is to be freely creative, not necessarily to make something beautiful (which can often put kids off art and creative expression at a young age).
Use other media too
Collage doesn’t just have to be about sticking pieces of paper down. Encourage kids to use crayons, pens, pencils, even Tip-X (if you can bear the mess!) to add to their art.
Keep talking about art
Get kids to talk about why they’ve chosen certain images and talk about your own responses. This works even better if parents are doing collage too.
Here’s the version we made:
Cook some delicious Patatas Bravas
Who can say no to deep fried potatoes, especially if they’re Spanish? These are an easy snack (especially if you make the Bravas sauce in advance) and are great for a weekend or after-school snack.
We don’t recommend that kids undertake the frying themselves, but they can certainly help with the washing, drying and maybe the slicing(?) involved in this recipe.

Krista, CC BY 2.0, via Wikimedia Commons
Ingredients:
for the potatoes
4 floury potatoes
oil for frying (olive or rape seed)
bravas sauce
salt
For the bravas sauce:
olive oil (1/3 cup)
1/2 tablestpoon hot smoked paprika
1 & 1/2 tablespoon smoked paptrika
2 tablespoon flour
1 cup vegetarian stock
Instructions:
We recommend making the Bravas sauce first. Heat the olive oil in a saucepan and when hot, add the two paprikas. Stir until combined.
Add 1 tbsp flour and stir until combined.
Over a low-medium heat, add the stock slowly. Make sure to keep stirring, so the sauce doesn’t turn lumpy.
The sauce should be velvety and smooth but not thick. Simmer for 3-5 mins. Leave to cool and add salt if necessary.
NOW THE POTATOES!
Peel the potatoes and dice into fairly small pieces. If the pieces are too large, they won’t fry (which you can still fix later!).
Rinse the potatoes and dry thoroughly. If you try to fry the potatoes while still damp, the efficiency of the frying is reduced and your potatoes may end up undercooked (again, this can be fixed later).
Heat the oil over a high heat. When hot, add the potatoes and deep fry them until crispy and golden.
Taste them to make sure they’re cooked all the wya through.
IF THEY’RE NOT COOKED ALL THE WAY THROUGH…
Don’t worry! Pop them in the oven (around 200°C) for 10-15 mins. They’ll still be crispy on the outside but also cooked on the inside.
5. Sprinkle with salt and drizzle with Bravas sauce!
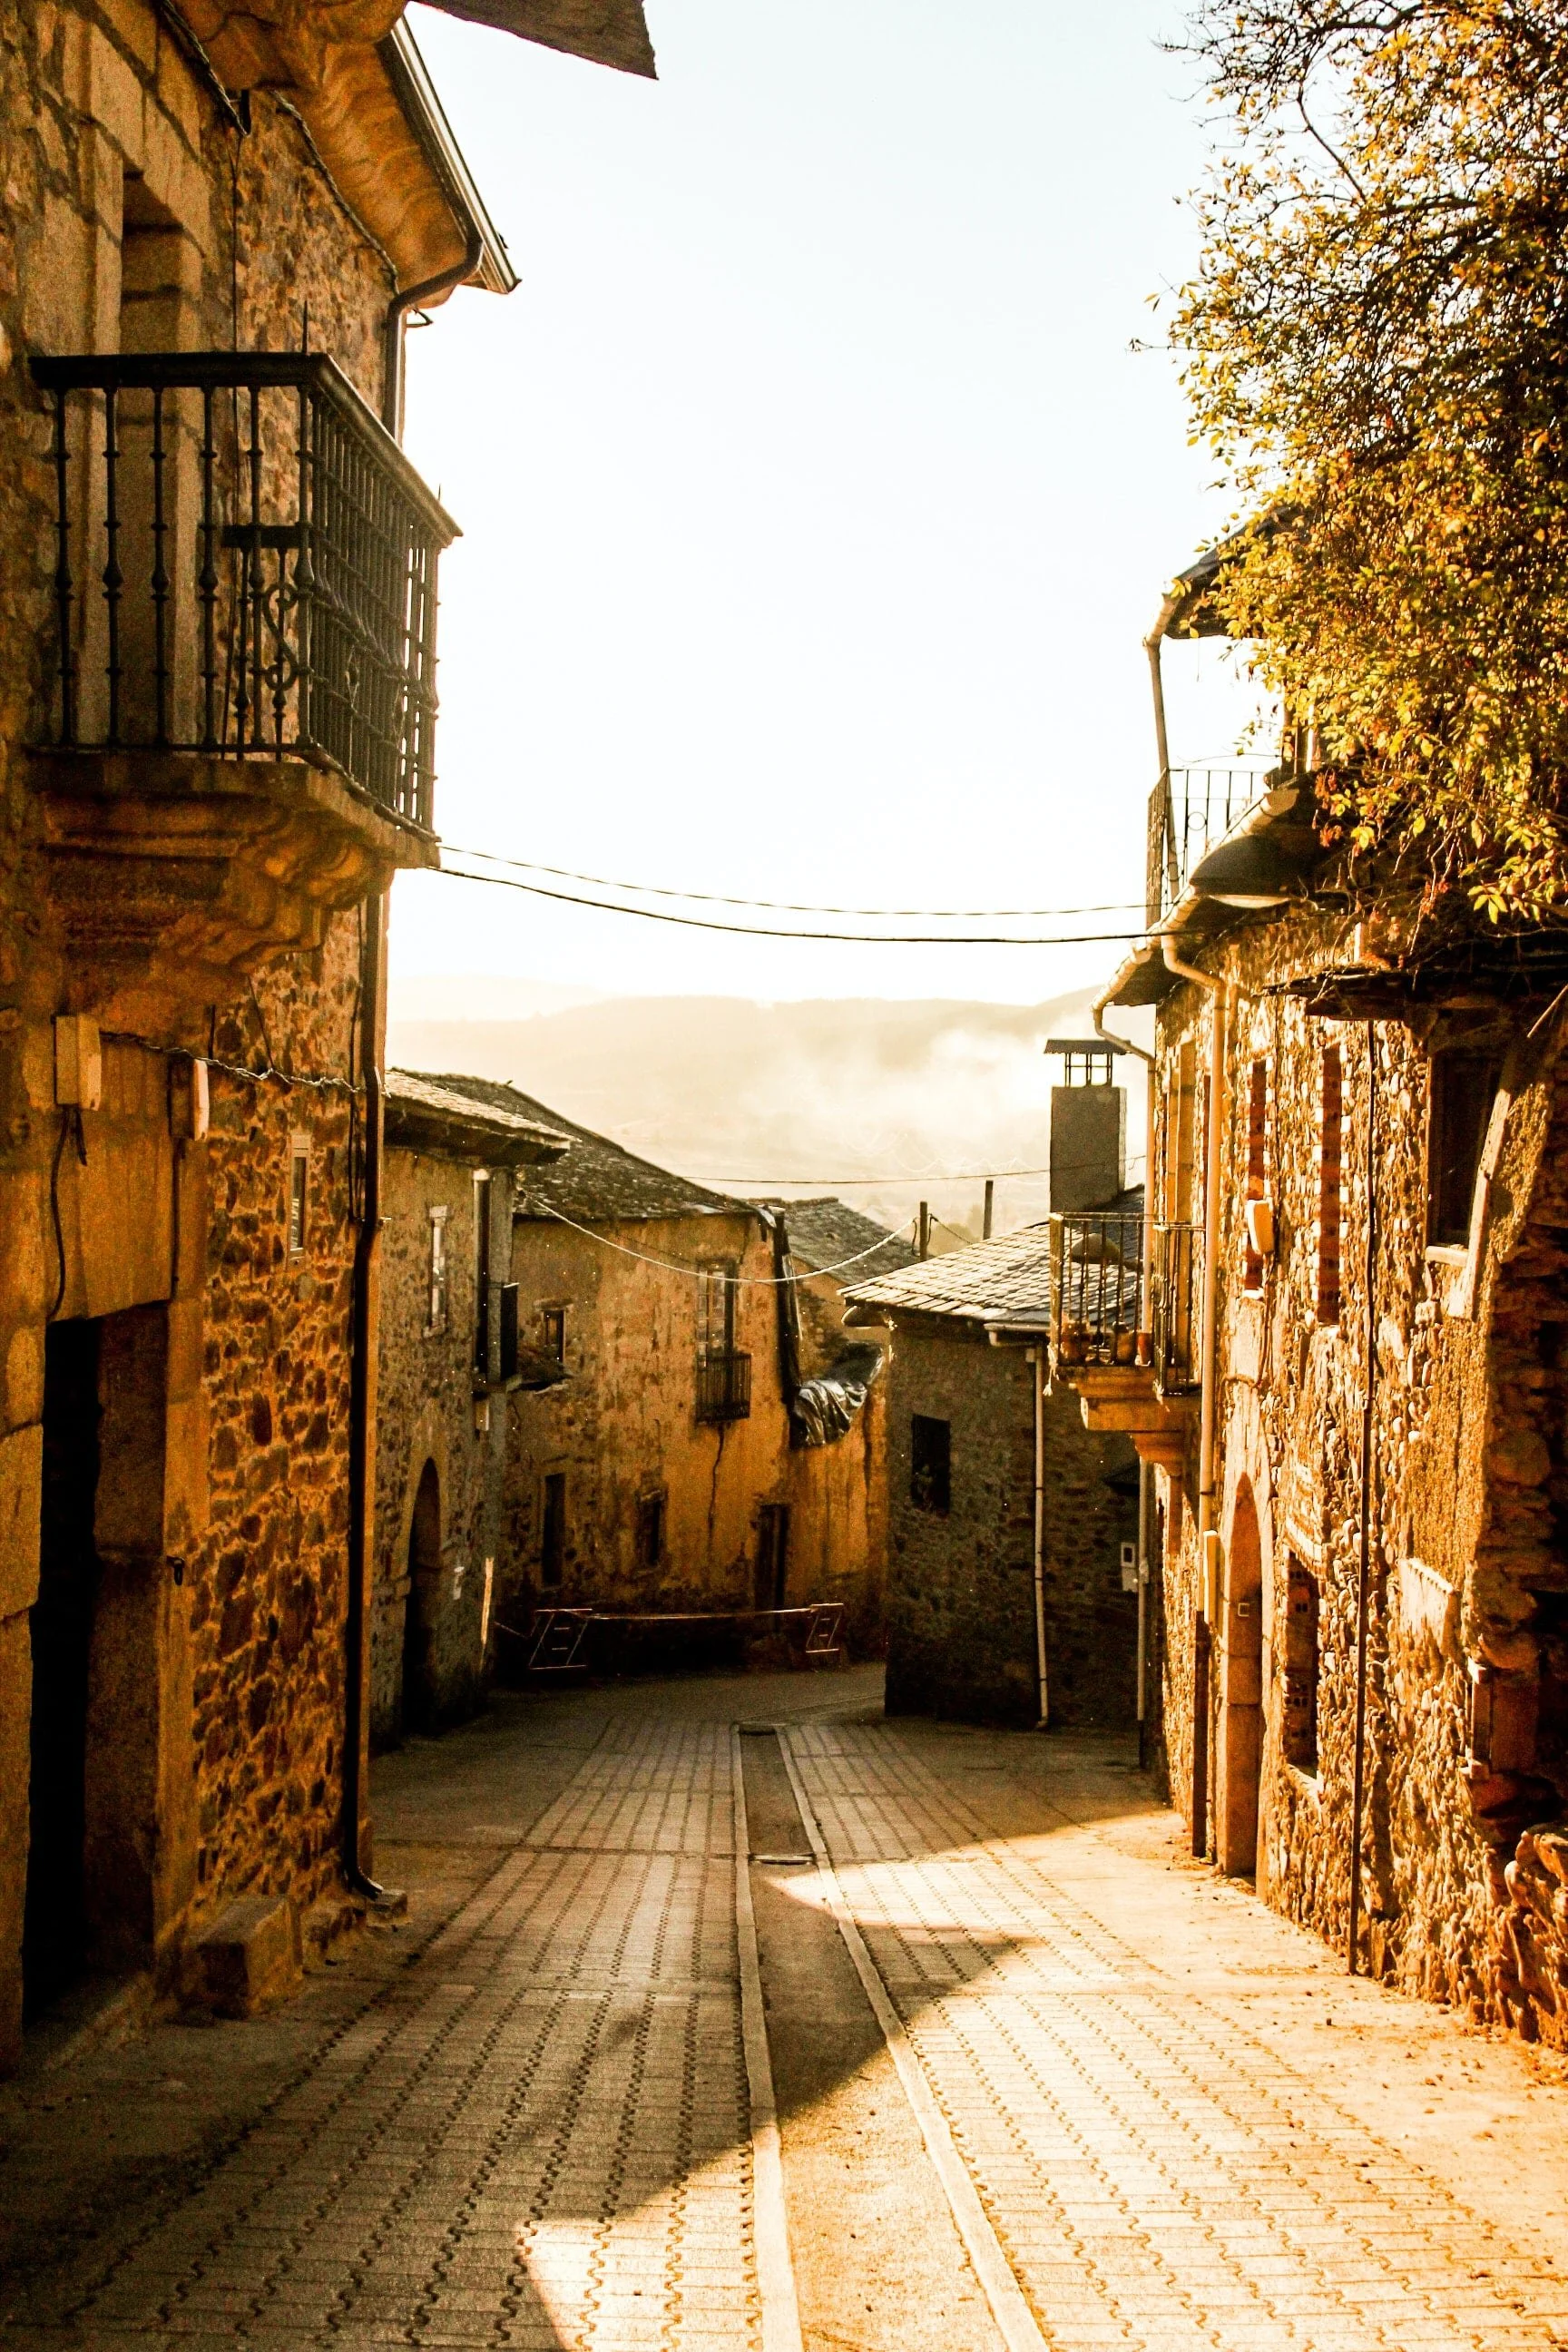
Do a Camino de Santiago walking challenge
The Camino de Santiago is an ancient tradition in Northern Spain. It’s a path of approximately 500 miles (depending on where you start) that was taken by religious pilgrims, to the Cathedral of Saint James in Santiago de Compostela. The route is still walked today, by religious and non-religious pilgrims.
They follow the signs of the shell, the symbol of Saint James, collecting stamps in their Credencial or Pilgrim Passport, at key points along the route. Along the way pilgrims stay in refugios and meet other pilgrims along the way.
Although 500 miles in one go may be too much for some kids (although children have definitely completed the Camino before!), there are plenty of ways you can create your own Camino challenge! It’s a great way to motivate the family to spend time outdoors (especially if you’re following a 1000 hours outside challenge) and build anticipation for a potential future challenge!
Here are some suggestions for how to complete your own Camino Challenge (without having to travel to Spain).
1. Make it 5 miles
If 500 miles seems like a lot of effort (and organisation!) try a 5-mile walk in one day, with 1 mile standing for 100 miles. Make sure to keep a Pilgrim Passport anyway (see below) and reward yourselves with some melindres (basically Galician doughnuts) at the end!
2. Track 500 miles over a year
If you’re up for a bigger challenge, see if the family can complete a 500 mile walk over the course of a year. It’s a great way to motivate everyone for a weekend walk. You can track your route mile by mile, and even link it to the actual route of the Camino.
It might make kids more enthusiastic when you say “Come on, it’s only one more mile to Burgos!” instead of “Come on, it’s only one more mile to the bus stop!”.
3. Make it digital
If walking isn’t your thing, or the rain is getting you down too much, you can also try an incredible app for phones or tablets. It’s called Camino de Santiago 360. It follows 2 pilgrims on their hike along the Camino, using 360 views and VR to show the whole of the route. There’s an interactive story to follow, allowing kids to explore different tourist spots along the way. It really feels like you’re on the Camino yourself!
Audio for the app is in Spanish, but there are English subtitles. It’s designed for adults, but fully suitable for children. Kids can also skip through any of the bits they find boring.
4. Make a Pilgrim Passport
Whatever you do, don’t forget that the Pilgrim Passport is the most important part! Make kids their own Pilgrim Passport to motivate them. You can use a folded piece of paper or card, and stickers or stamps to record every mile or 10 miles. Make sure to put in extra achievements as well, like “First Blister” or “First Day We Walked Entirely in the Rain”. The symbol for the Camino is a shell, so make sure to put one on the front of the Passport.
Kids will be begging for outdoor time before you know it.

Want to try Questa Kids yourself?
It’s an online game for kids aged 7-12 to explore the world by learning about different cultures, geographies, foods, animals and more!